
How To Enable TPM 2.0 And Secure Boot For Modern Warfare 4 Beta
 HalloTokoh
August 21, 2026 7:21 am
.
7 min read
HalloTokoh
August 21, 2026 7:21 am
.
7 min read
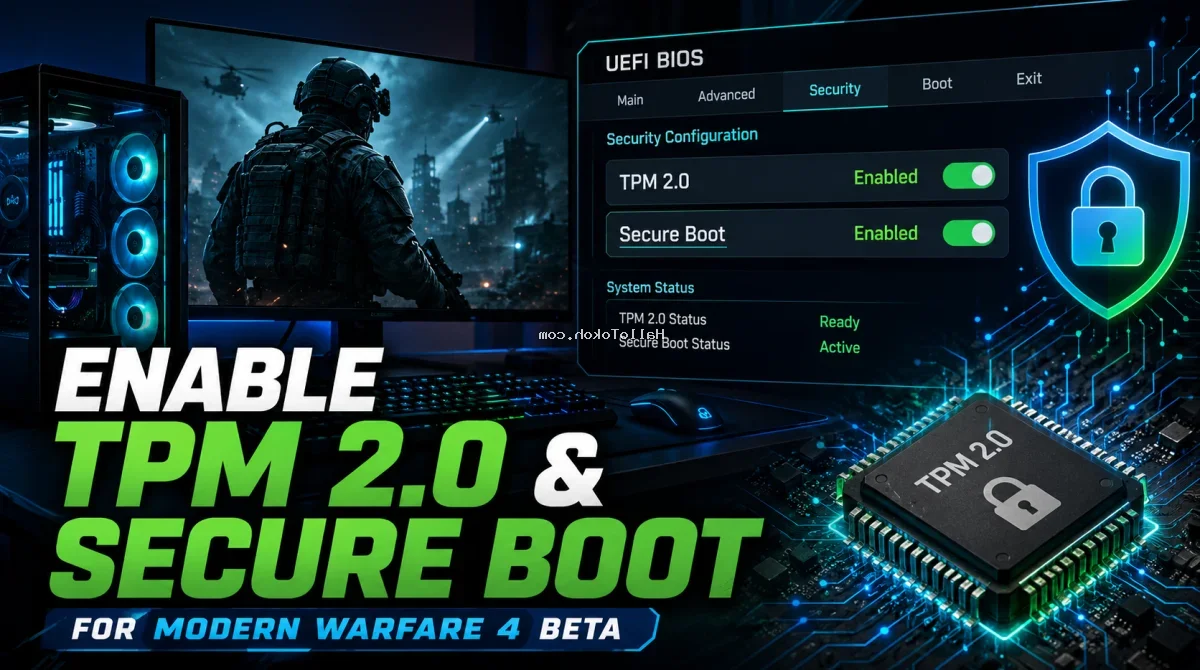
HalloTokoh – How To Enable TPM 2.0 And Secure Boot For Modern Warfare 4 Beta is guaranteed to add a great point to your daily conversations. Hello internet wanderers! Welcome to the latest piece on HalloTokoh.com. Perfect for a quiet afternoon read to gain some fresh insight.
Today’s topic is actually straightforward, not as heavy as it seems. To stay up to date, let’s explore the interesting aspects of How To Enable TPM 2.0 And Secure Boot For Modern Warfare 4 Beta. So your days become more productive backed by solid facts.
To satisfy your curiosity, check out the array of facts waiting down below. Let’s get to it!
Poin Utama Berita Ini:
- Modern Warfare 4 Beta requires TPM 2.0 and Secure Boot enabled on PC systems as part of Activision’s security requirements.
- Enabling these security features typically requires modifying BIOS or UEFI firmware settings rather than reinstalling the game.
- Specific motherboard brands like ASUS, MSI, and Gigabyte feature different menu layouts for configuring fTPM, PTT, and Secure Boot.
As reported by Tech4Gamers, the Modern Warfare 4 Beta may refuse to launch on PC systems if Trusted Platform Module (TPM) 2.0 or Secure Boot is disabled. Activision lists TPM 2.0 and Secure Boot as core components of its PC security requirements for the Call of Duty franchise under Trusted Platform Module specifications. Resolving launch failures and anti-cheat errors usually means changing BIOS or UEFI settings rather than reinstalling the game files entirely. For players preparing their systems for the beta, understanding how to navigate firmware settings securely is critical to avoiding frustrating startup crashes and security attestation warnings.
Before You Open BIOS Or UEFI Settings
Before making any changes to your motherboard’s firmware, checking your current Windows system status is essential. You can easily inspect your current configuration by pressing the Windows and R keys simultaneously on your keyboard. Type msinfo32 into the run dialog box and press Enter to open the System Information window. Within this panel, verify your BIOS Mode, Secure Boot State, and TPM status.
If your BIOS Mode indicates Legacy rather than UEFI, you should avoid enabling Secure Boot immediately. Secure Boot strictly requires a UEFI environment, and disabling the Compatibility Support Module (CSM) on a Legacy or Master Boot Record (MBR) Windows installation can prevent Windows from booting up successfully. Additionally, you should check your TPM status separately by pressing Windows and R again, typing tpm.msc, and pressing Enter. Look for Specification Version 2.0 to ensure your hardware meets the necessary security standards.
Essential BIOS Safety Warnings And Precautions
Modifying motherboard firmware settings requires caution to prevent unexpected boot behavior or data loss. Before entering your BIOS or UEFI interface, make sure to save any open work and back up important files to an external drive or cloud storage. If BitLocker or Device Encryption is active on your storage drives, you must locate and save your recovery key first to avoid being locked out of your operating system.
Never interrupt a BIOS firmware update while it is in progress, as power interruptions can permanently brick your motherboard. While following configuration guides, refrain from altering CPU frequencies, memory timings, voltage profiles, or storage controller modes. Taking a photograph of each BIOS screen with your smartphone before changing any setting provides a reliable visual reference if you need to revert changes later.
Methods To Access BIOS Or UEFI Firmware
If your operating system boots normally, utilizing the Windows advanced startup method is often the most convenient way to access your motherboard firmware. Open your Windows Settings application, navigate to the System tab, and select Recovery. Under the Advanced startup section, click on Restart now. After your PC restarts, select Troubleshoot, navigate to Advanced options, choose UEFI Firmware Settings, and click Restart.
Alternatively, you can restart your computer manually and repeatedly press your motherboard manufacturer’s designated entry key during the initial power-on sequence. Popular motherboard brands utilize specific keys for firmware access:
| Motherboard Brand | Usual Entry Key |
|---|---|
| ASUS | Delete or F2 |
| MSI | Delete |
| Gigabyte | Delete |
| Many Laptops | F2, F10, or Esc |
Pressing the correct key repeatedly as soon as the system powers on ensures you enter the firmware utility before the operating system begins to load.
Enabling TPM 2.0 Across Different CPU Platforms
TPM 2.0 functionality appears under different names depending on whether your system runs on an AMD or Intel processor architecture. AMD systems typically label the feature as AMD fTPM, while Intel platforms refer to it as Intel PTT or Platform Trust Technology. Enabling this firmware option eliminates the need to purchase a separate hardware TPM module on modern consumer motherboards.
For ASUS motherboards running AMD processors, enter Advanced Mode by pressing F7, navigate to the Advanced tab, open the AMD fTPM configuration menu, and set TPM Device Selection to Firmware TPM. On Intel-based ASUS systems, navigate to the Advanced tab, open the PCH-FW Configuration menu, and enable PTT, saving your changes with F10. Some ASUS firmware versions may place these options under a Trusted Computing heading instead.
MSI motherboard users can locate these settings by opening the Settings menu, navigating to Security, and selecting Trusted Computing. Set Security Device Support to Enabled and activate AMD fTPM or Intel PTT depending on your CPU platform. On Gigabyte systems, navigate to Settings or Miscellaneous and enable AMD CPU fTPM or Intel Platform Trust Technology before saving and restarting your computer.
Configuring Secure Boot For Enhanced Platform Security
Secure Boot helps verify that trusted boot components load correctly during the startup sequence. As covered by Eurogamer and noted in hardware reports, RICOCHET Anti-Cheat utilizes platform security checks, and reports surrounding the beta indicate that TPM 2.0 and Secure Boot are strictly enforced for PC players. Before enabling Secure Boot, confirm that your system displays UEFI as the BIOS Mode in your system information utility.
ASUS users can configure Secure Boot by opening the Boot menu, setting CSM to Disabled if Windows already utilizes UEFI, opening the Secure Boot menu, setting OS Type to Windows UEFI Mode, and enabling Secure Boot. MSI users should navigate to Settings, select Advanced, open Windows OS Configuration, set BIOS UEFI/CSM Mode to UEFI, and enable Secure Boot. Gigabyte users must disable CSM Support only if Windows is installed in UEFI mode, open Secure Boot, set Secure Boot to Enabled, and restore factory keys if the option appears grayed out.
Verifying Security Configurations And Fixing Errors
After saving your BIOS changes and letting Windows boot normally, verify your configuration by reopening the system information utility and checking that Secure Boot State is set to On and BIOS Mode is UEFI. Check your TPM utility to confirm that the specification version is 2.0 and the status indicates readiness for use. You can also review these metrics directly within the Windows Security application under Device security and Security processor details.
If the Modern Warfare 4 Beta still displays errors after enabling these features, several troubleshooting steps can resolve persistent security attestation issues. Restart your computer once more before launching the game, as certain firmware changes apply during a full boot cycle rather than a fast startup resume. Additionally, check for pending Windows updates, update your motherboard BIOS firmware using manufacturer tools such as ASUS EZ Flash, MSI M-Flash, or Gigabyte Q-Flash, and ensure default Secure Boot keys are restored if platform validation fails.
Disclaimer: This article provides technical guidance for configuring PC hardware and BIOS settings for gaming software. Always exercise caution when modifying system firmware. For official hardware documentation and support resources, visit Microsoft.
Referensi Sumber: Tech4Gamers – How To Enable TPM 2.0 & Secure Boot For Modern Warfare 4 Beta
Also Read: Cybersecurity Strategies to Safeguard College Assignments from Hidden Malware in Mods and Downloads
What do you think, guys? Pretty interesting insights on How To Enable TPM 2.0 And Secure Boot For Modern Warfare 4 Beta, right? Turns out exploring this topic is really that fun, folks. Now you’re one step ahead in knowledge compared to others.
Enjoy this casual way of breaking down topics? take a quick second to hit the share button, folks. Who knows, it might help other readers here at HalloTokoh.com.
Wishing you good health wherever you are, hope your day shines bright with great achievements!
Editorial Team: HalloTokoh.com Team
Author: Mss. Mafa